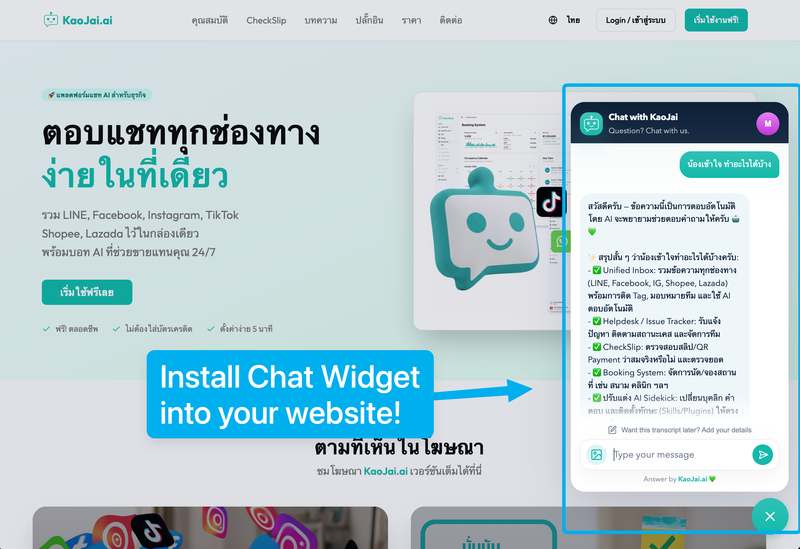
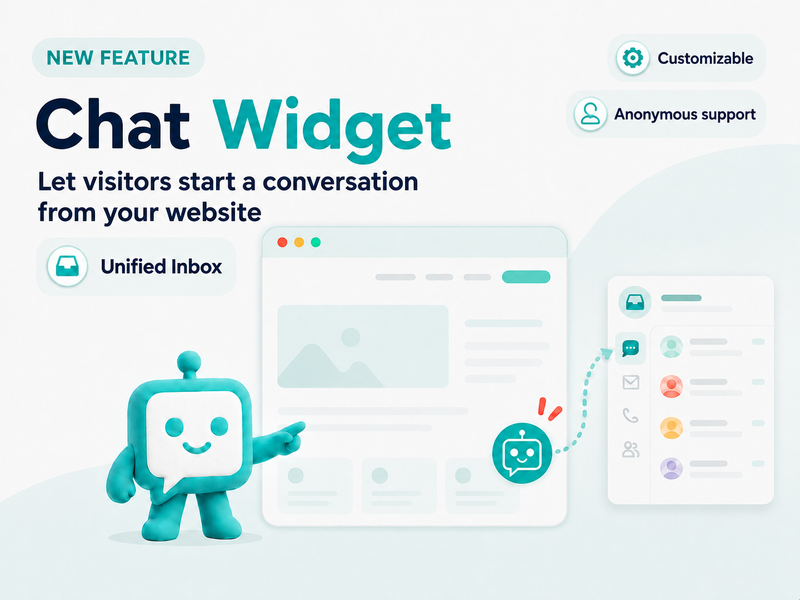
People may already be visiting your website, but still hesitate to ask a question because they have to open another app or find a separate contact channel. The Chat Widget lets visitors start a conversation directly from your website, while messages arrive in the same KaoJai.ai Unified Inbox as your other channels.
This guide covers the full path from creating a widget to testing the first message. It works with any website that lets you add custom code, including WordPress, Shopify, company websites, and landing pages.
The short version
| Step | What to do | Result |
|---|---|---|
| 1 | Open Integrations > Webchat in KaoJai Admin | Ready to create a widget |
| 2 | Name the widget and select Add widget | A snippet connected to your workspace |
| 3 | Copy the setup code | A ready-to-paste snippet |
| 4 | Paste it before the closing </body> tag and publish | Visitors can start a chat |
| 5 | Send a test message from the site | The conversation appears in Unified Inbox |
1. Create a Chat Widget in KaoJai Admin
- Open KaoJai Admin and choose Integrations.
- Select the Webchat card.
- Give the widget a name that tells you where it will be used, such as
Main website,Campaign landing page, orContact page. - Select Add widget.
Every widget has its own Widget ID. This makes it easy to use separate widgets for different websites or campaigns, see where a conversation started, and remove one widget without affecting the others.
2. Copy the setup code
After the widget is created, select Copy code on the widget you want to install. The Admin snippet already includes the values you need:
srcis the widget file on the KaoJai.ai CDNdata-tenant-ididentifies the workspace that receives the conversationdata-widget-ididentifies the widget you createddata-localefollows the Admin console language, such asth
Do not add data-base-url for production. The library sends messages to https://kjchat.kaojai.ai by default.
The code looks like this. This example shows the format only; use the code copied from Admin so the workspace and widget IDs are correct.
<script
  src="https://public.kaojai.ai/tools/chat-widget/v1/chat-widget.global.js"
  data-tenant-id="YOUR_TENANT_ID"
  data-widget-id="YOUR_WIDGET_ID"
  data-locale="th"
></script>
Do not edit the tenant_id or widget_id yourself, and do not add a password, API key, or secret to this snippet.
3. What v1 means
Paths under /tools/chat-widget/v1/ are the compatible major contract:
- Auto-update (Admin copy-paste):
https://public.kaojai.ai/tools/chat-widget/v1/chat-widget.global.js
Serves the latest compatible1.xfile. Browsers may cache it for up to 24 hours. - Immutable pin:
https://public.kaojai.ai/tools/chat-widget/v1/chat-widget@1.0.0.js
Use this only when you need a frozen file. It is never overwritten.
If an older page still loads unpkg.com, recopy the snippet from Admin. This package is published to GitHub Packages, so unpkg cannot serve it.
4. Add the code to your website
Paste the snippet before the closing </body> tag, then save or publish the page. A basic HTML page might look like this:
<main>
  <h1>Our services</h1>
</main>

<!-- Paste the Chat Widget here -->
<script
  src="https://public.kaojai.ai/tools/chat-widget/v1/chat-widget.global.js"
  data-tenant-id="YOUR_TENANT_ID"
  data-widget-id="YOUR_WIDGET_ID"
  data-locale="th"
></script>
</body>
CMS notes
- Custom HTML: paste before
</body>on every page that should show the chat button. - WordPress: use the theme Custom Code / Footer scripts field, or a plugin that injects code before
</body>. - Shopify: Online Store > Themes > Edit code, then paste into
theme.liquidbefore</body>, or use a Custom liquid footer block.
Menu names vary, but the principle is the same: the script must load on the page where you want the chat button to appear.
5. Test the first message
After publishing, open the page in an incognito window or another browser. Select the chat button and send a test message.
Return to Chat Inbox in KaoJai Admin and check that the conversation arrived. Your team can continue from the same inbox and use the AI and workflows configured for your other channels.
Configuration
Only data-tenant-id and data-widget-id are required. Everything else has a library default; omit it unless you need to override it.
| Attribute | Required | Default | When to set it |
|---|---|---|---|
data-tenant-id | Yes | — | Use the value from Admin |
data-widget-id | Yes | — | Use the value from Admin |
data-base-url | No | https://kjchat.kaojai.ai | Only for a non-production API host |
data-locale | No | en | Admin writes the console locale; Thai consoles get th |
data-hidden | No | false | Hide the button while still loading the widget |
data-title | No | Localized copy (Chat with KaoJai) | Custom header title |
data-subtitle | No | Localized copy | Custom header subtitle |
data-greeting | No | Localized copy | Custom first visitor message |
data-hover-message | No | Localized copy | Custom launcher hover text |
data-primary-color | No | #11BAA6 | Brand color |
data-poll-interval-ms | No | 3000 | Change how often the widget checks for replies |
data-offset-x / data-offset-y | No | 24 (mobile 8 + safe-area) | Move the launcher |
data-draggable | No | true | Set false to lock the launcher in place |
data-initialize-conversation | No | false | Authenticated embeds only |
data-multi-conversations | No | false | Let visitors start another thread |
data-close-enabled | No | false | Allow permanent close |
data-permanent-close-duration-ms | No | 2592000000 (30 days) | Use with data-close-enabled="true" |
Optional examples
Title and color:
<script
  src="https://public.kaojai.ai/tools/chat-widget/v1/chat-widget.global.js"
  data-tenant-id="YOUR_TENANT_ID"
  data-widget-id="YOUR_WIDGET_ID"
  data-locale="th"
  data-title="Chat with our shop"
  data-primary-color="#0F766E"
></script>
Non-production API override (not for customer sites):
<script
  src="https://public.kaojai.ai/tools/chat-widget/v1/chat-widget.global.js"
  data-base-url="https://kjchat.kaojai.dev"
  data-tenant-id="YOUR_TENANT_ID"
  data-widget-id="YOUR_WIDGET_ID"
  data-locale="th"
></script>
Permanent close:
<script
  src="https://public.kaojai.ai/tools/chat-widget/v1/chat-widget.global.js"
  data-tenant-id="YOUR_TENANT_ID"
  data-widget-id="YOUR_WIDGET_ID"
  data-locale="th"
  data-close-enabled="true"
></script>
Delete a widget you no longer use
Open Integrations > Webchat and select Delete on the widget. Deleting it stops new messages from that widget’s code, while existing conversations remain available.
If the old snippet is still embedded on your website, the button may still appear but it will not accept new messages. Remove the old snippet from the website as well. If you need the widget again later, create a new one and install its new code.
Quick troubleshooting
The chat button does not appear
Check that the page was published and that the script is present in the actual HTML. Your Content Security Policy must allow https://public.kaojai.ai. Browser DevTools can show errors in the Console.
The button appears but messages do not reach the inbox
Make sure the code belongs to a widget with an Active status and that data-tenant-id and data-widget-id were not changed after copying. A deleted widget cannot receive new messages. If the page still loads unpkg.com, recopy the snippet from Admin.
I want to use it on several websites
Create one widget per website or campaign and use each widget’s code in the matching place. Clear widget names make ongoing management and troubleshooting easier.
Frequently asked questions
What kind of websites support the Chat Widget?
Any website that lets you add JavaScript or custom HTML can use it, including custom-built sites, WordPress, Shopify, landing pages, and other website platforms with a footer-code area.
Does the setup code contain a secret?
No. It contains only a public URL and identifiers for the workspace and widget. Never add a password or secret to the snippet.
Will deleting a widget remove old conversations?
No. Deleting a widget stops new messages from that widget; existing conversations stay in KaoJai Admin.
If you already have a website, start with the page where customers ask the most questions: pricing, services, or contact. Make it easy for visitors to start a conversation, then expand to other pages when you are ready.